Wage & Hour Export
Exporting from DSPTCH
To access the Wage & Hour export, first navigate to the job you want to export data for. From there, go to the "Compliance" tab in the primary navigation bar at the top of the page, and click "Wage Determination" on the side menu. On that page there will be a "Tabulate" button next to the "+ New Wage Determination" button.
See the video below for a demonstration:
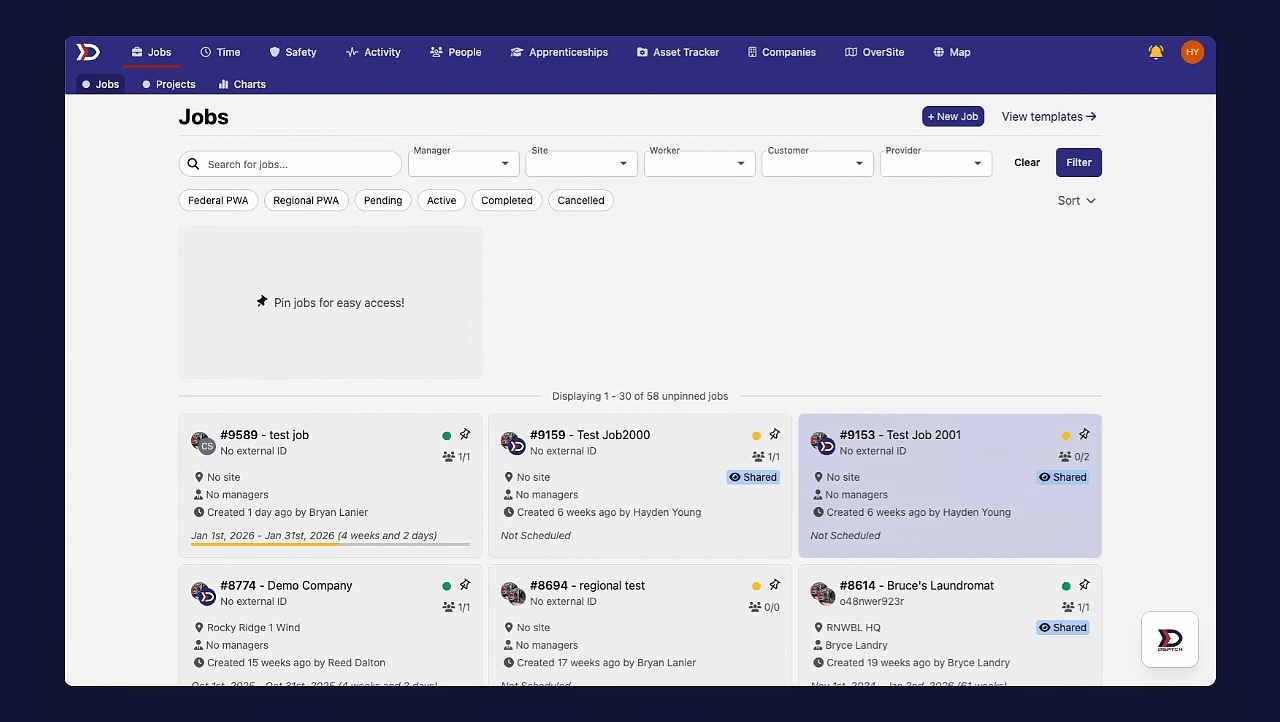
Clicking the "Tabulate" button will open a tabular view of the Wage & Hour export.
The table displays data for the entire job by default. Since LCPtracker only accepts one week at a time, the data must be filtered to the desired week before exporting.
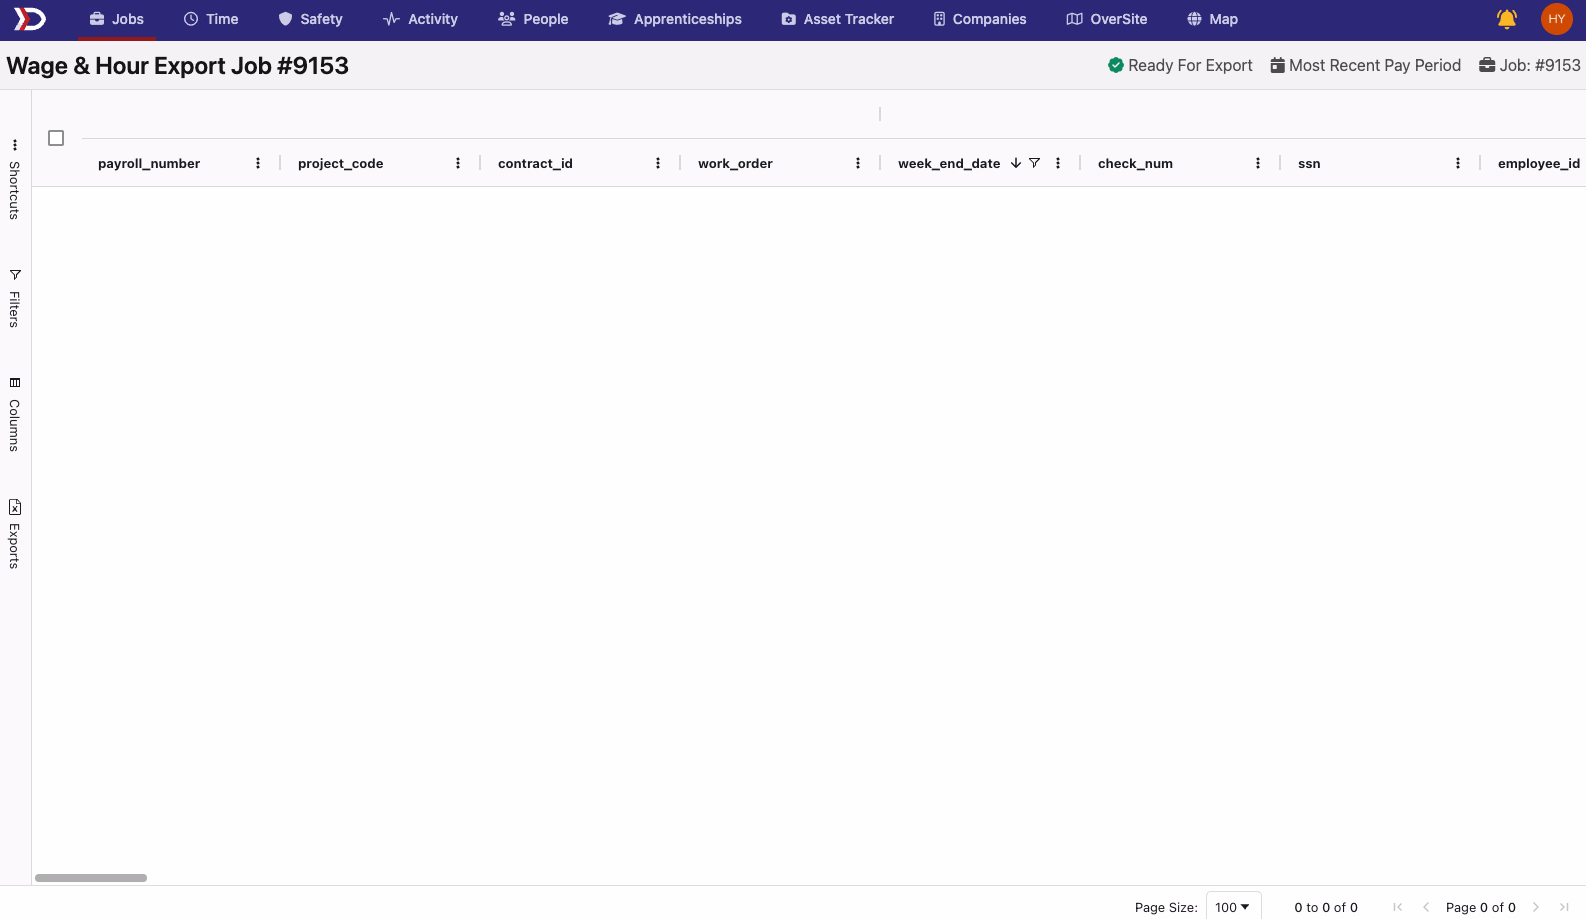
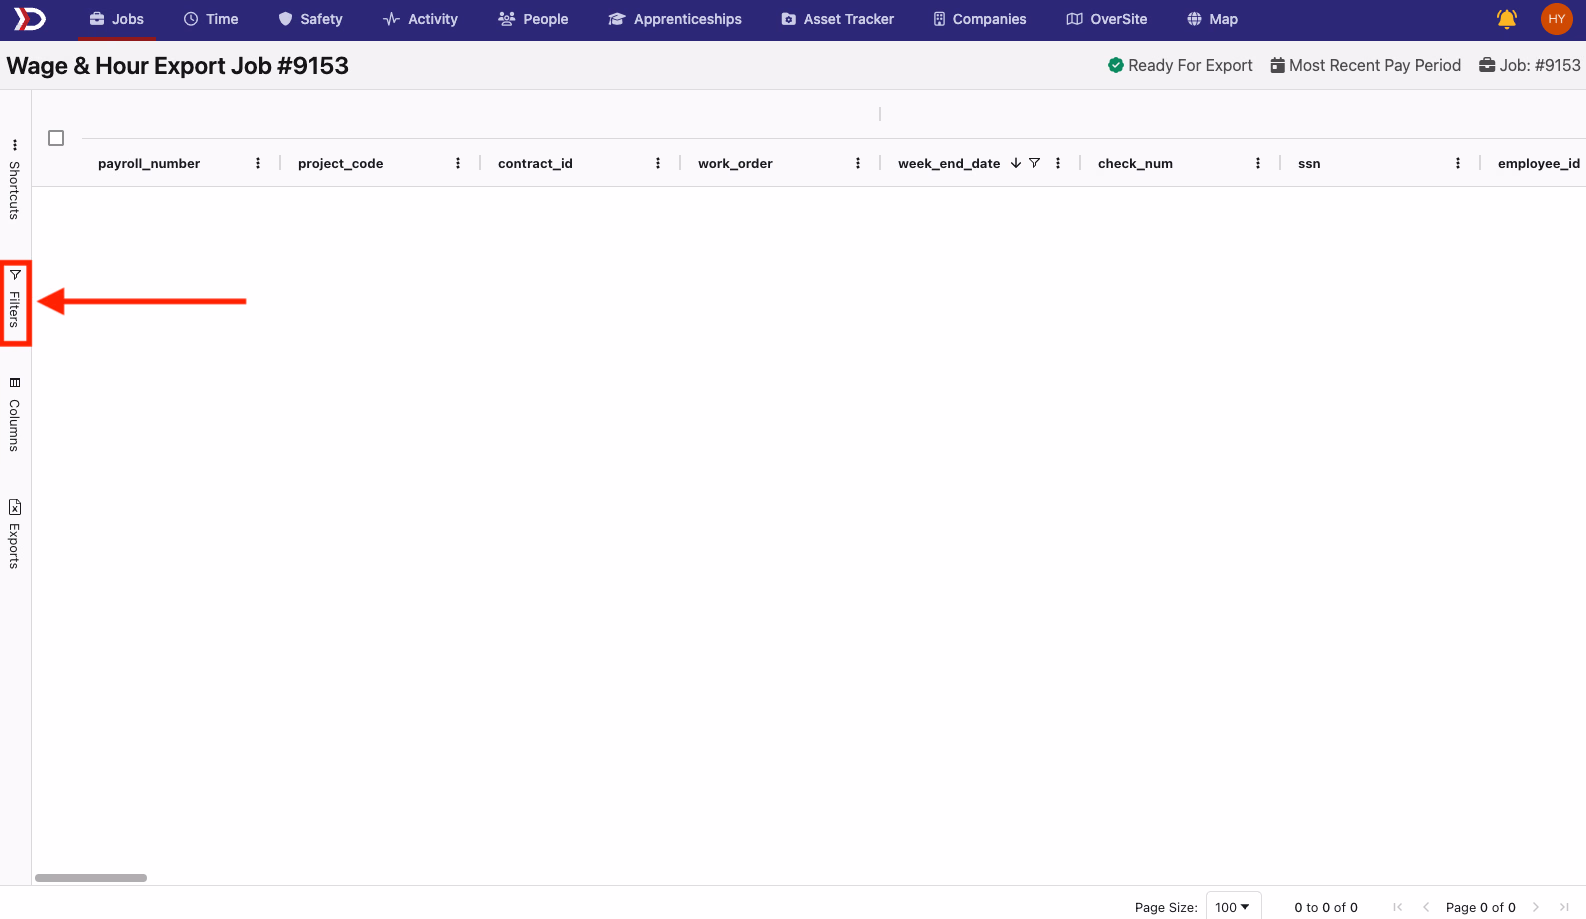
To do so, click on the "Filters" button on the left hand side menu (indicated by the red box and arrow in the image below). This will pull up some options of columns you can filter by.
The two important filters are "week_end_date" and "class_code."
week_end_date will be necessary to export a single week of data. Select the checkbox of the week that data is being exported from
class_code can be very useful for a job with a mix of PWA and non-PWA workers. De-selecting (Blanks) will exclude workers that are not PWA.
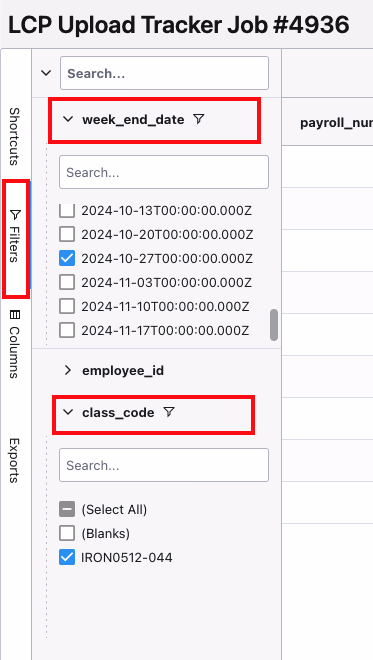
Filter options - "week_end_date" and "class_code" are useful for exporting the data you need.
Once the table is filtered as necessary, export the data by clicking the "Exports" button in the menu on the left side of the page (indicated by the red box in the image below) and choosing "to Excel" under "Export all rows" (indicated by the green box in the image below).

It is important to use "to Excel" for the Wage & Hour export as that is what LCPtracker expects.
Uploading exports to LCPtracker
Once the export is downloaded, upload it to LCPtracker by following these steps:
- Login to LCPtracker and navigate to the "1. Payroll Records" tab
- Click "Upload Records"
- Choose the week end date, project and location sections
- If there is payroll data syncing with DSPTCH, leave the "Calculate fringes automatically" box un-checked
- Choose the file downloaded from DSPTCH to upload
- Hit the "Upload" button
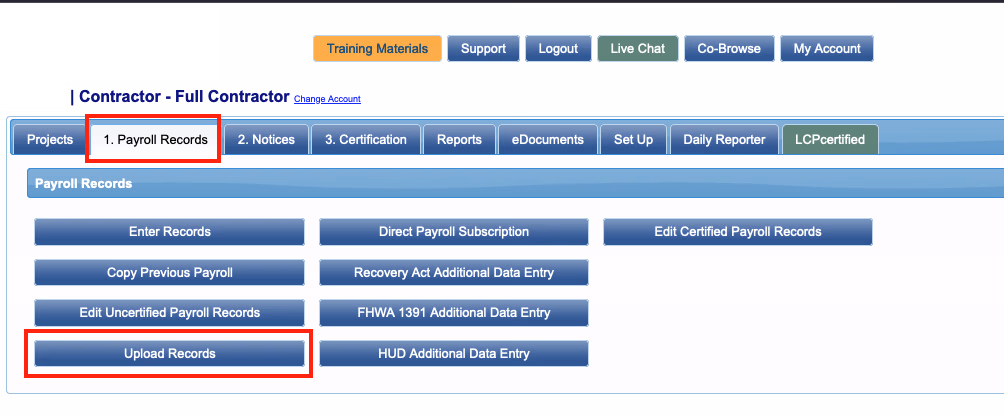
Example of LCPtracker screen, steps 1. and 2.
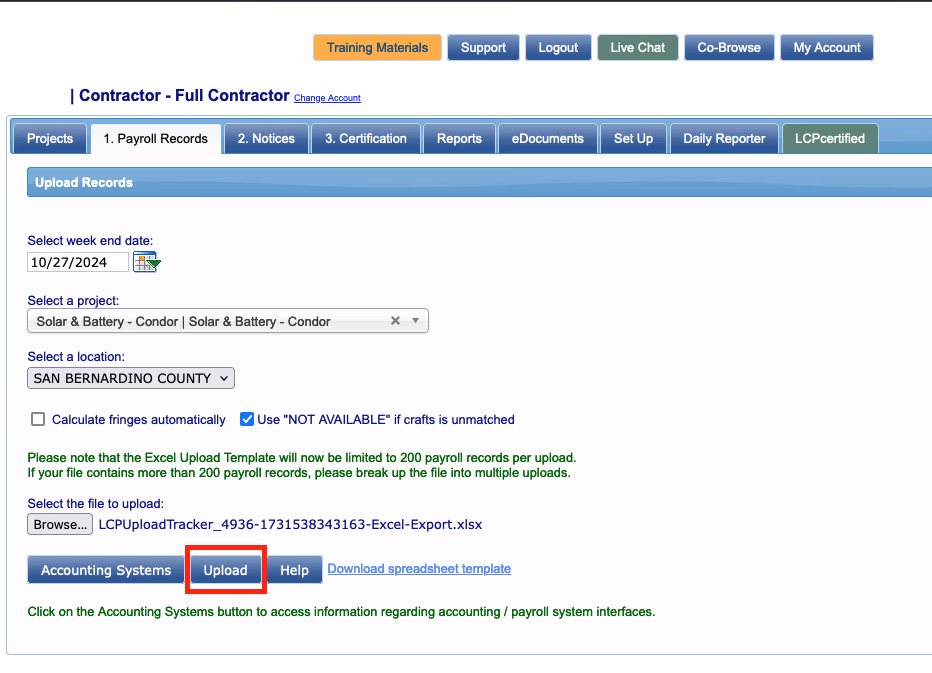
Example screen for steps 3., 4. & 5.
After clicking the "Upload," button a progress bar should appear with records being uploaded and verified. Upon success, a screen will open to Craft Match or Edit the uploaded records.
For more information about how to Craft Match or Edit, please refer to LCPtracker's Documentation
We have seen the upload process run into errors when using the Microsoft Edge browser. If you are getting errors when uploading, try uploading while using Google Chrome.

Example progress bar

Example upload success message
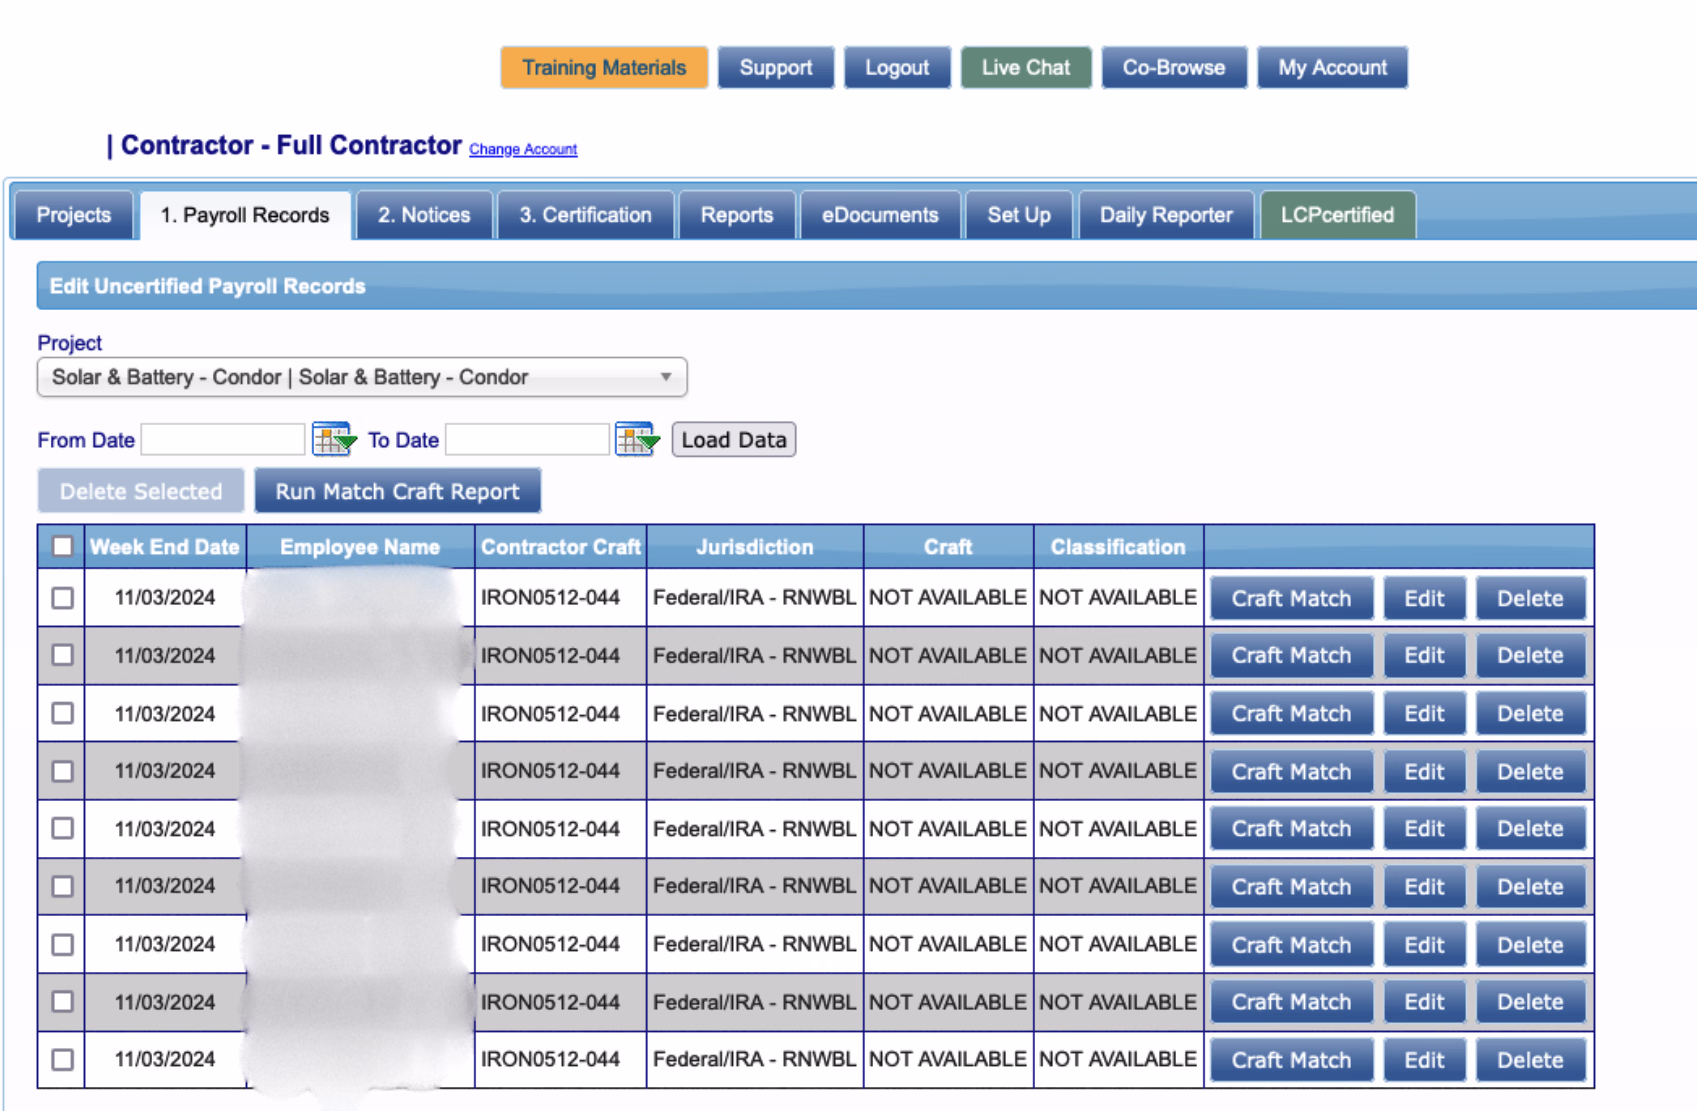
Example Payroll Record screen