Manually Creating a Time Entry
As a pre-requisite to creating a time entry, it is required that a pay schedule is configured for your company. For instructions on how to create a pay schedule, please read our help documentation here.
Note: Depending on your company's settings, it might be required to create a timecode before creating a time entry. Please refer to the How to Create a New Timecode section for instructions.
Navigating to Time Entries
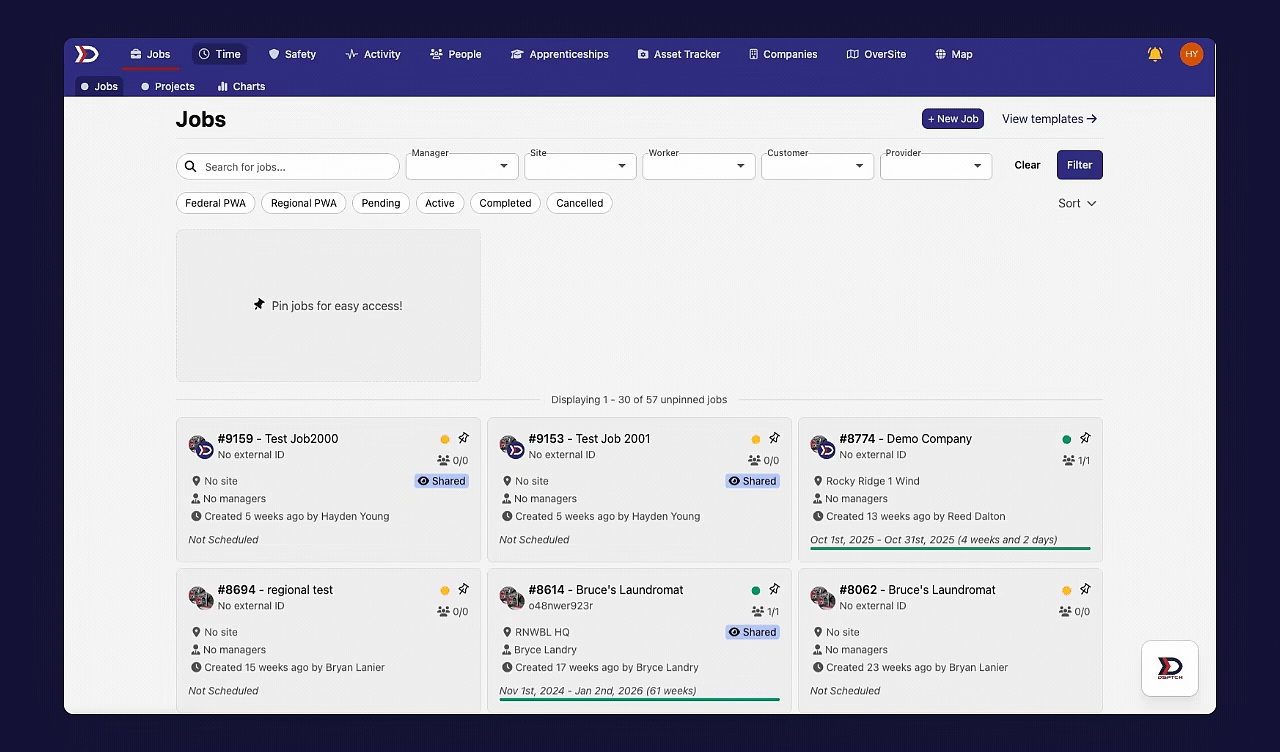
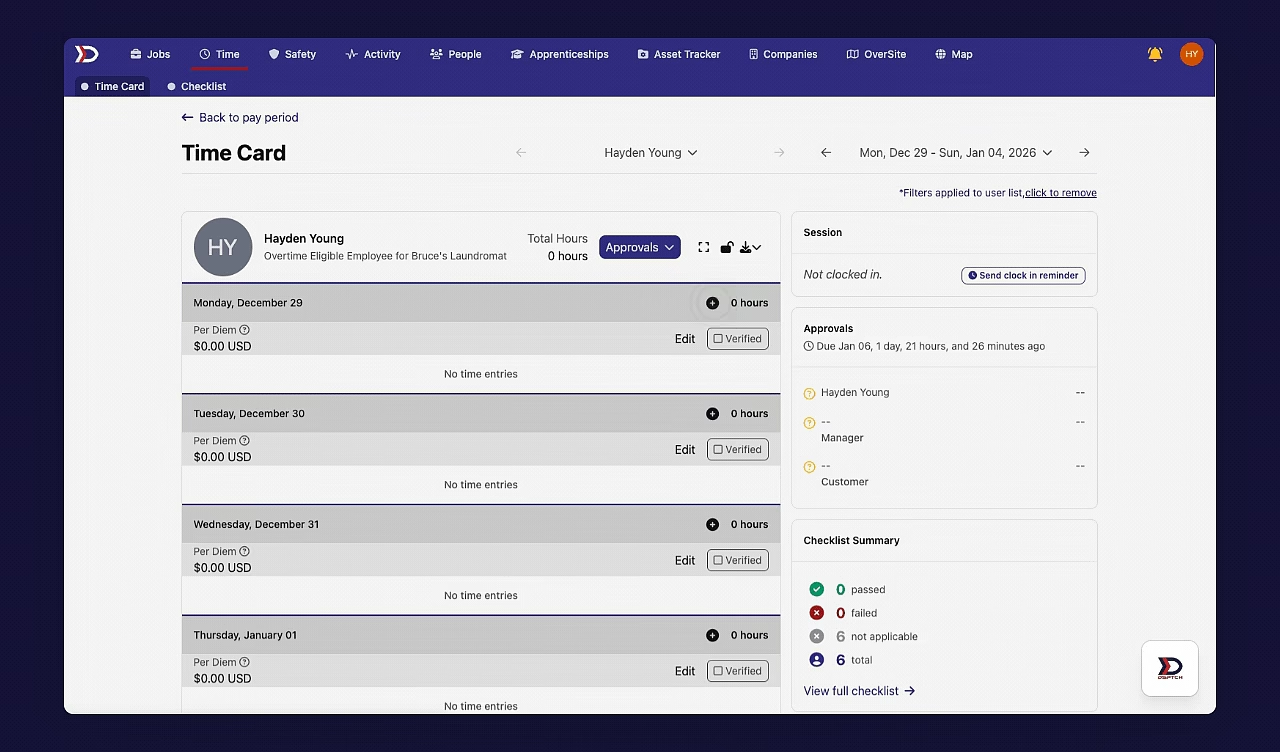
Start by clicking the "Time" tab from the primary navigation bar at the top of the screen. This will open the "Time Cards" page. Then, locate the relevant user's profile and click on their profile picture. This will open the user's time card, which contains all of their time entries for the current pay period.
In the event that no user's appear from the "Time" tab, navigate forward to a more recent pay period.
See the video below for a demonstration:
How to Create a New Time Entry
To create a new time entry, click the "+" icon on any of the days in the pay period.
This will open the Create New Time Entry form.
Then, fill in information such as the start/end time, job, hourly rate, timecode, state (location), assets worked on, and a description. Lastly, click the "Save" button. The time entry will now appear in the user's time card.
See the video below for a demonstration:
See the image below for an example of the Create New Time Entry form:
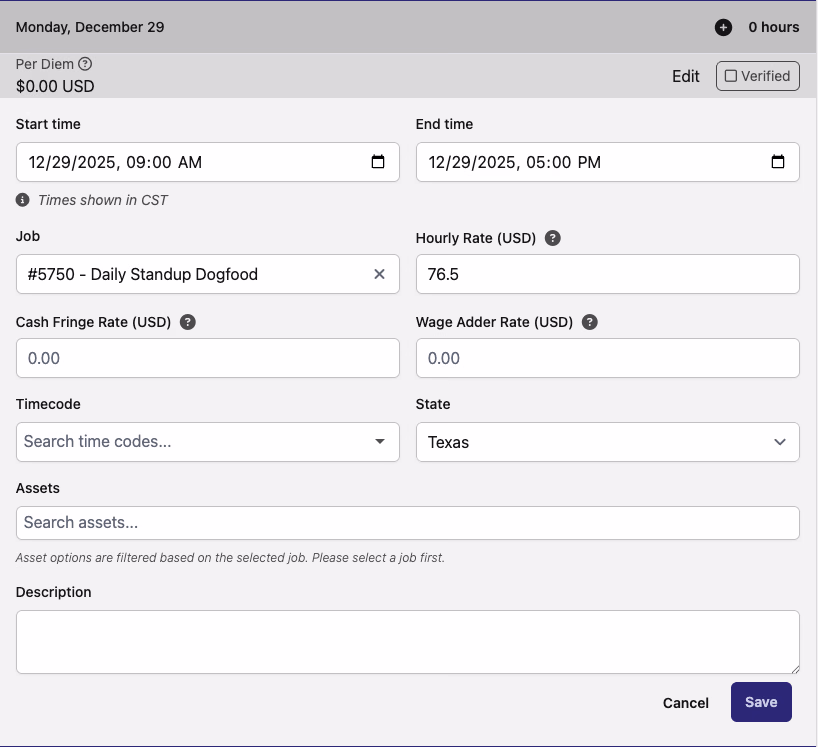
There are several fields which need to be completed in the Create New Time Entry form:
-
Start Time (Required)
-
The date and time your time session begins.
-
End Time (Required)
-
The date and time your time session ends.
-
Job (Required)
-
The job being worked on during this time entry.
-
Hourly Rate (Required)
-
The hourly rate of pay for this time entry (can only be edited by admins).
-
This field will automatically be filled by the associated position hourly rate or default hourly rate for the worker.
-
Cash Fringe Rate (Optional)
-
The hourly cash fringe rate for this time entry (can only be edited by admins).
-
If left blank, the expected rate will be used.
-
Wage Adder Rate (Optional)
-
The hourly wage adder rate for this time entry (can only be edited by admins).
-
If left blank, the expected rate will be used.
-
Timecode (Dependent on Company Settings)
-
A code (set by your individual company) that briefly describes the work type
-
State (Dependent on Company Settings)
-
The US state/territory or Canadian Province the time entry was logged in
-
Assets (Optional)
-
The specific assets worked on during the time entry at the job site (can select multiple)
-
Description (Optional):
-
A long text entry to describe the time entry
How to Create a New Timecode
In the event that you need to create a Timecode, please read our documentation here for instructions.
General Overview of the Time Tab
For more information on the rest of the Time Tab, please read our help documentation here.
Creating Time Entries in DSPTCH Mobile
For information on how to create Time Entries from the DSPTCH Mobile app, please read our help documentation here.