Editing User Information
Editing an Existing User's Profile
How to Edit a User's Personal Information
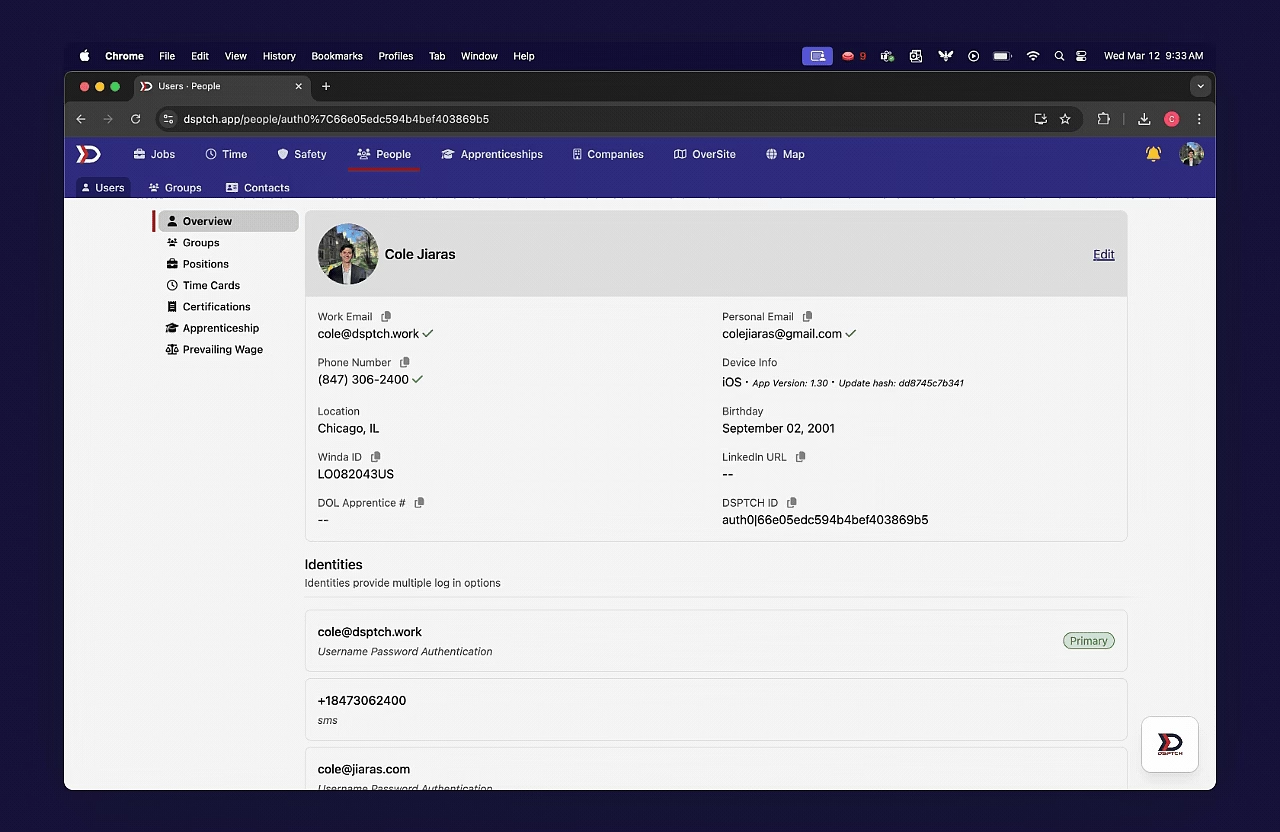
From the User's Profile Page, click the "Edit" button to the right of the User's Full Name (highlighted in the red box in the image below):

Clicking "Edit" will open the Edit User Form. All fields in the form are editable. For a detailed breakdown of each field, please refer to our the "Create New Users Form" section of our Creating & Inviting User Help Document.
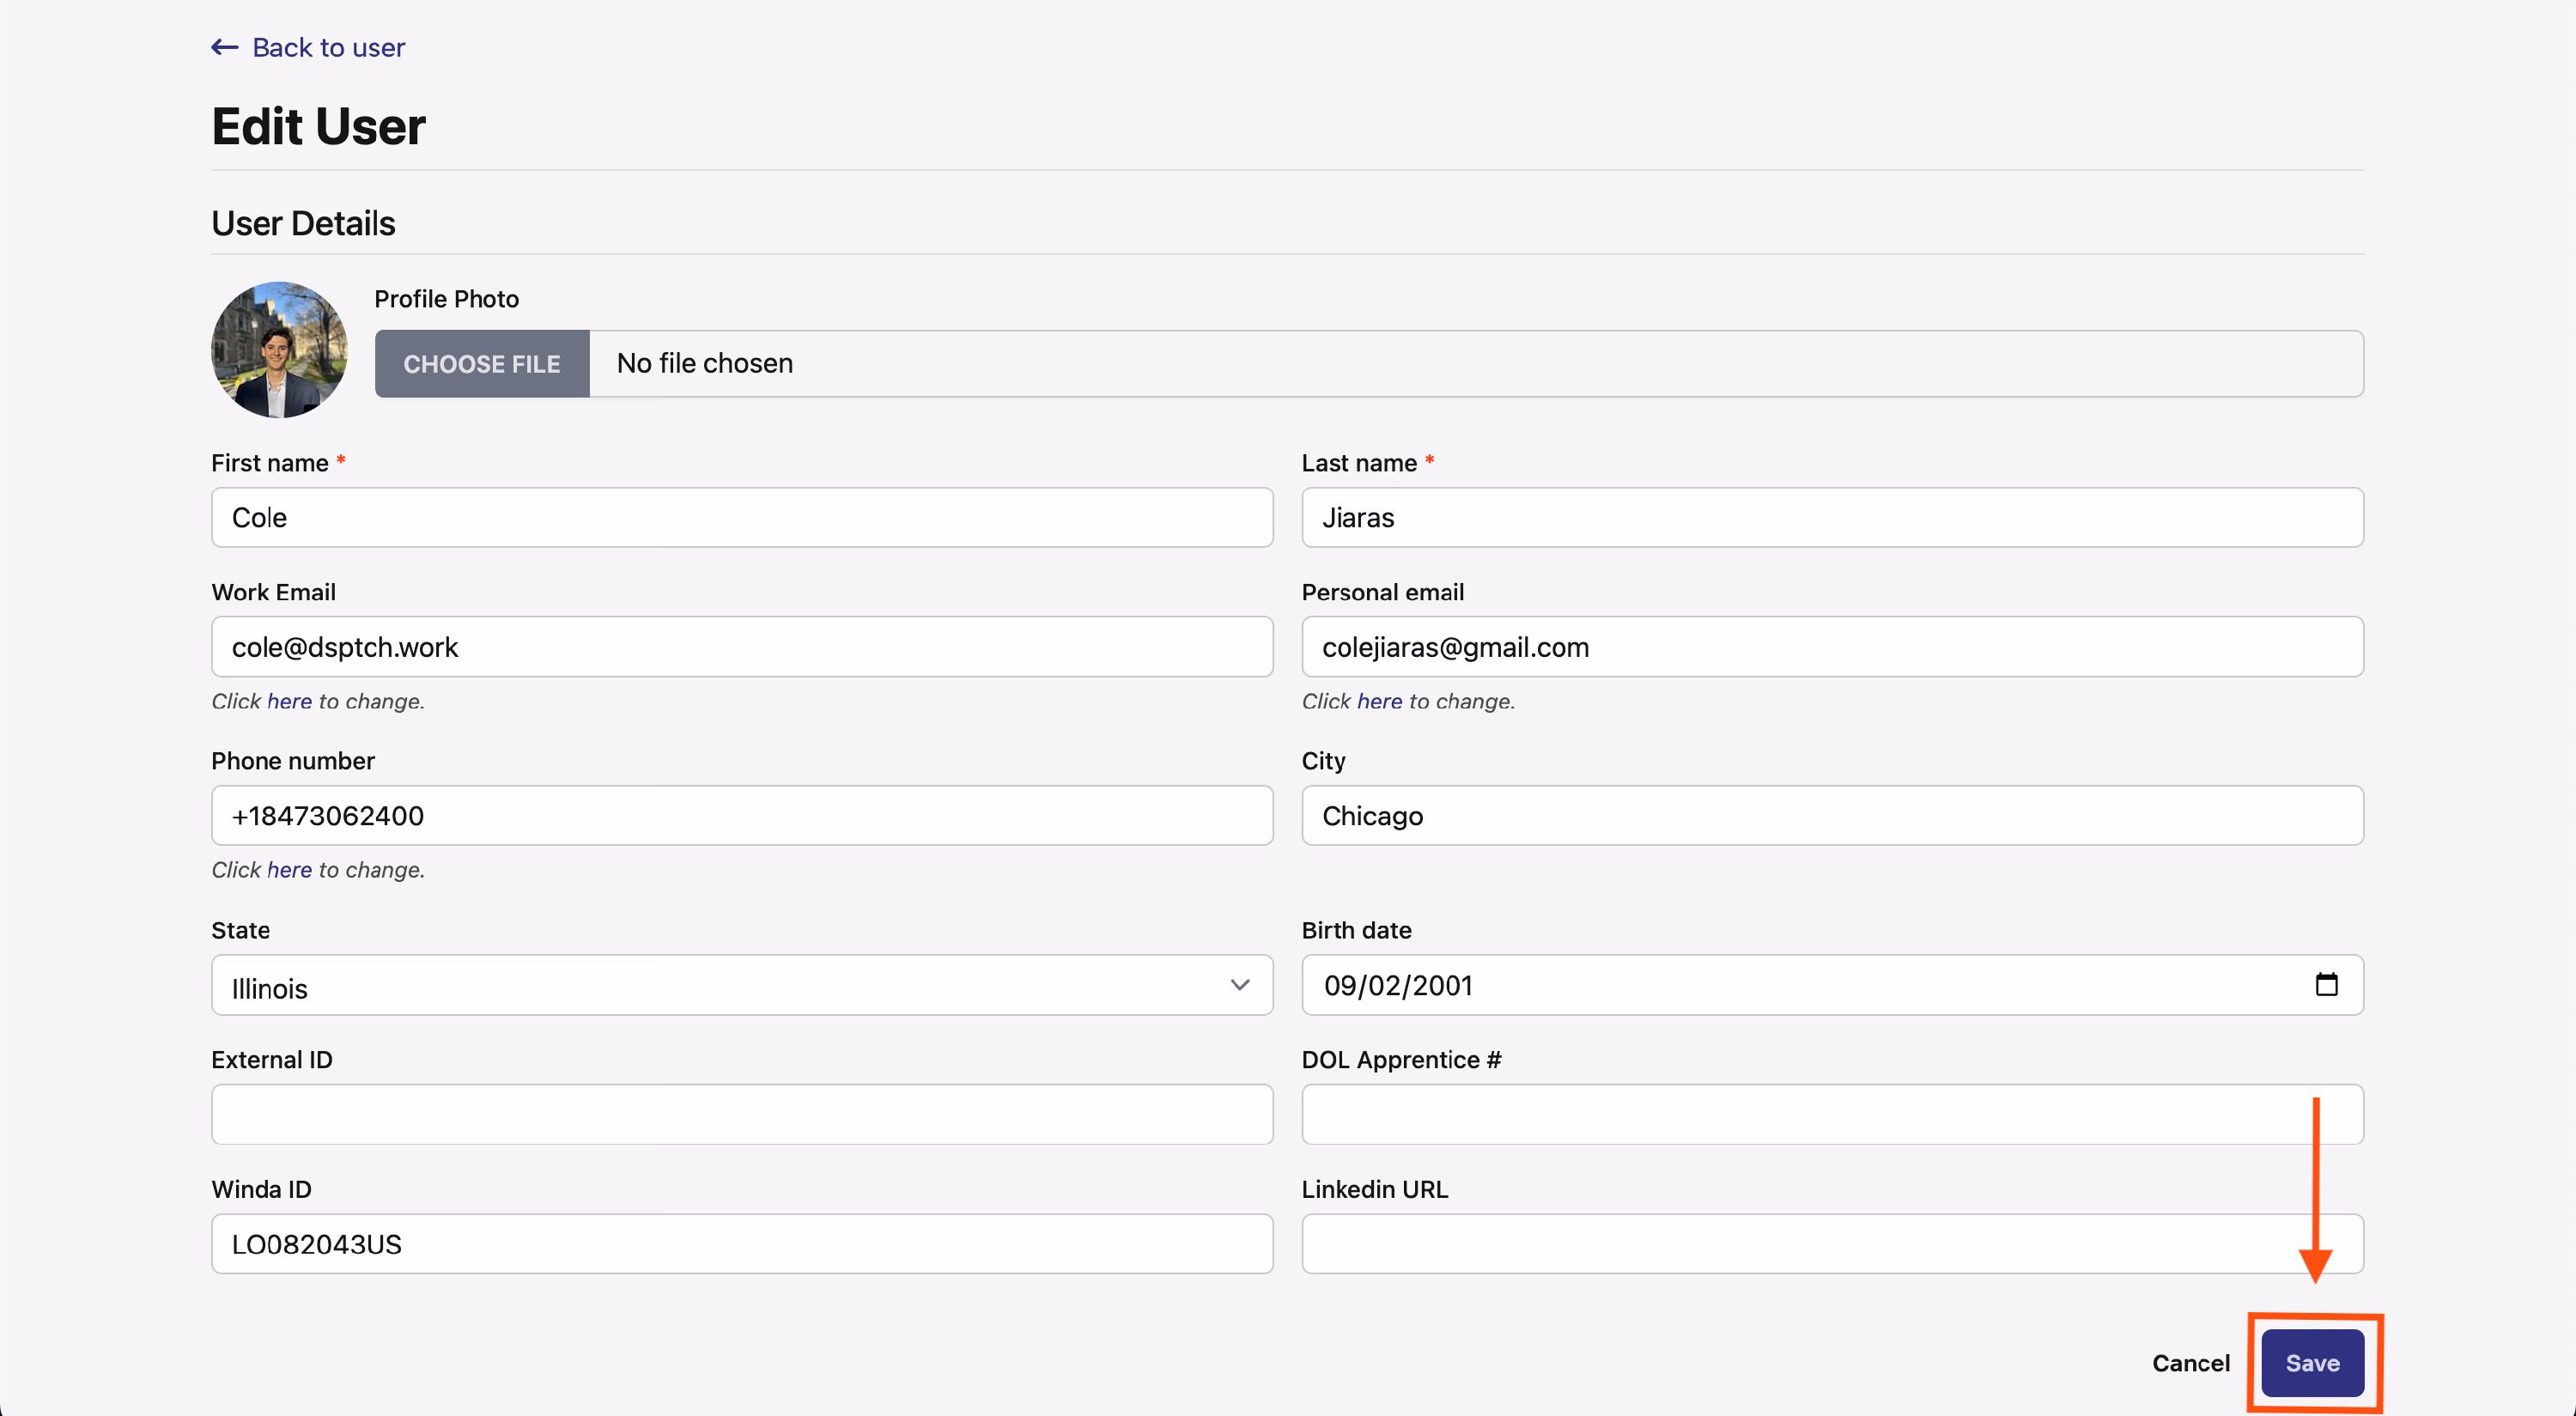
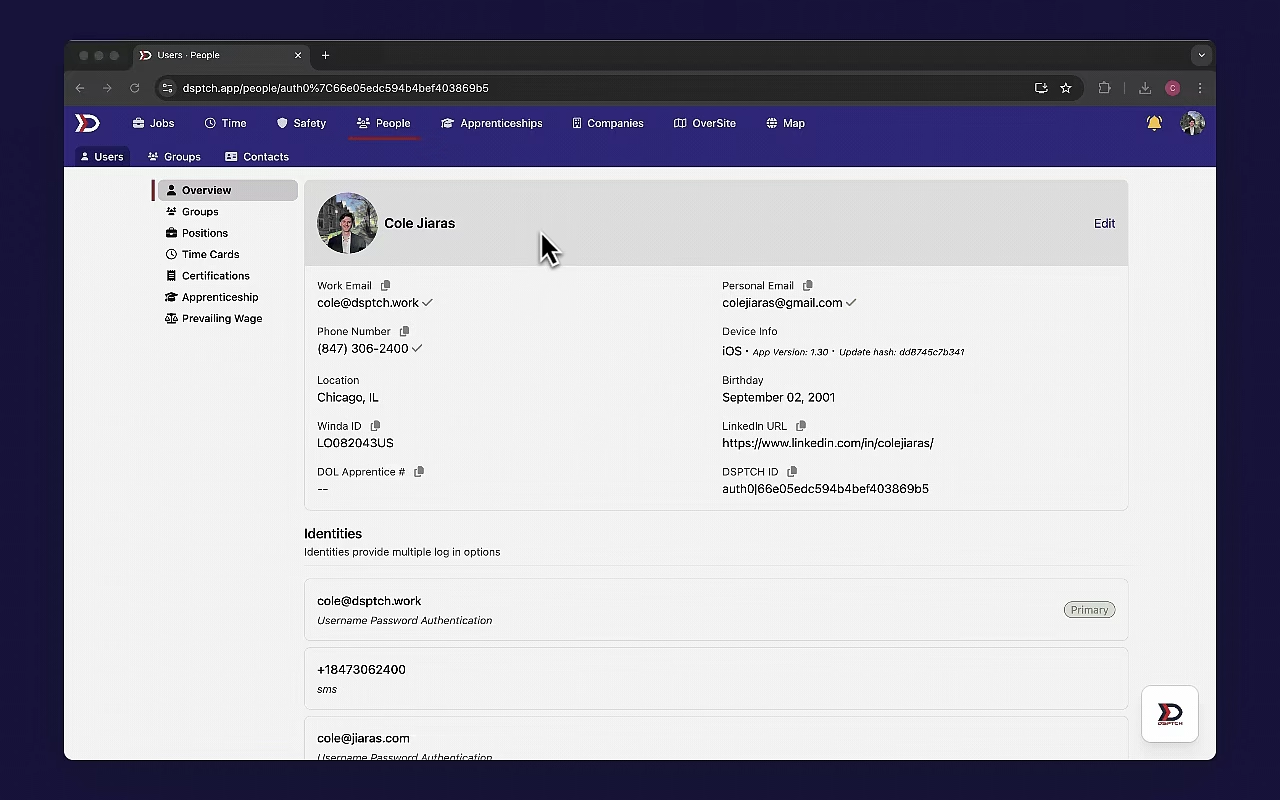
Once all necessary edits have been made, click "Save" to save the changes. The changes will be reflected on the User's Profile. See video below for an example of adding a LinkedIn URL to Cole's Profile.
Editing User-Company Information
How to Edit a User's Company Information
Start by navigating to the User's Profile that needs to be edited. Instructions can be found in the User Profile Overview.
Once the User's Profile is open, scroll down to the "Employment Details" Section.
From the "Employment Details" Section, click the three dots symbol at the top right of the section, and then click "Edit" from the dropdown that appears. This will open the Edit Employment Details Form. See video below for a demonstration:
There are several fields in the Edit Employment Details Form that can be changed at any time:
- Hire Date (Required):
- The date that the User was hired to your Company (in MM/DD/YYYY format).
- Employment Type (Required):
- Dropdown to select if the User is an Employee or Contractor for your Company.
- Manager (Optional):
- Dropdown to select the User's Manager from a list of all existing Managers in your Company.
- Payroll ID (Optional):
- An identification field that can be used to associate the new User with your payroll system.
- Enroll in T&A Toggle (Optional):
- Toggle on to enable Time & Attendance for the new User. Users enrolled in time and attendance will have time cards created automatically, and will have time card actuals synced (assuming your payroll system has been linked to DSPTCH – instructions here).
- Custom Fields (Optional):
- Custom fields are a way to store any information not offered by DSPTCH. Custom fields are created at the settings section of the app - check out our settings documentation to learn more.