Check-ins
How to check in to a site
Before you start
You'll need DSPTCH Mobile installed and an active account before you can check in. If you haven't already, download the app and create an account, then sign in.
Once you're signed in, use either method below to check in to a site.
Scan the Visitor QR code
The fastest way to check in is to scan the Visitor QR code. The same code is posted at sites and shown below — scan either one to open DSPTCH Mobile directly on the site-search screen.

To check in via QR code:
- Open your phone's camera and point it at the Visitor QR code.
- Tap the link that appears.
- On the site-search screen, find your site and tap to select it.
- Tap Check in to open the Check-in page.
Check in from the dashboard
You can also start a Check-in from inside the app. Click the Check in to a site button from the main dashboard, search for the relevant site from the map search bar, and select the site. Click the Check in button once the site has been pulled up.
This will open the Check-in page.
For an example, watch the interactive demo here.
Fill out the Check-in
After opening the Check-in page, begin the entry by uploading photos, adding a description of the work performed, and tagging relevant assets such as turbines or inverters.
Once the Check-in has been filled out, it can be shared with others by clicking the share arrow.
For an example, watch the interactive demo here.
Check out at the end of your visit
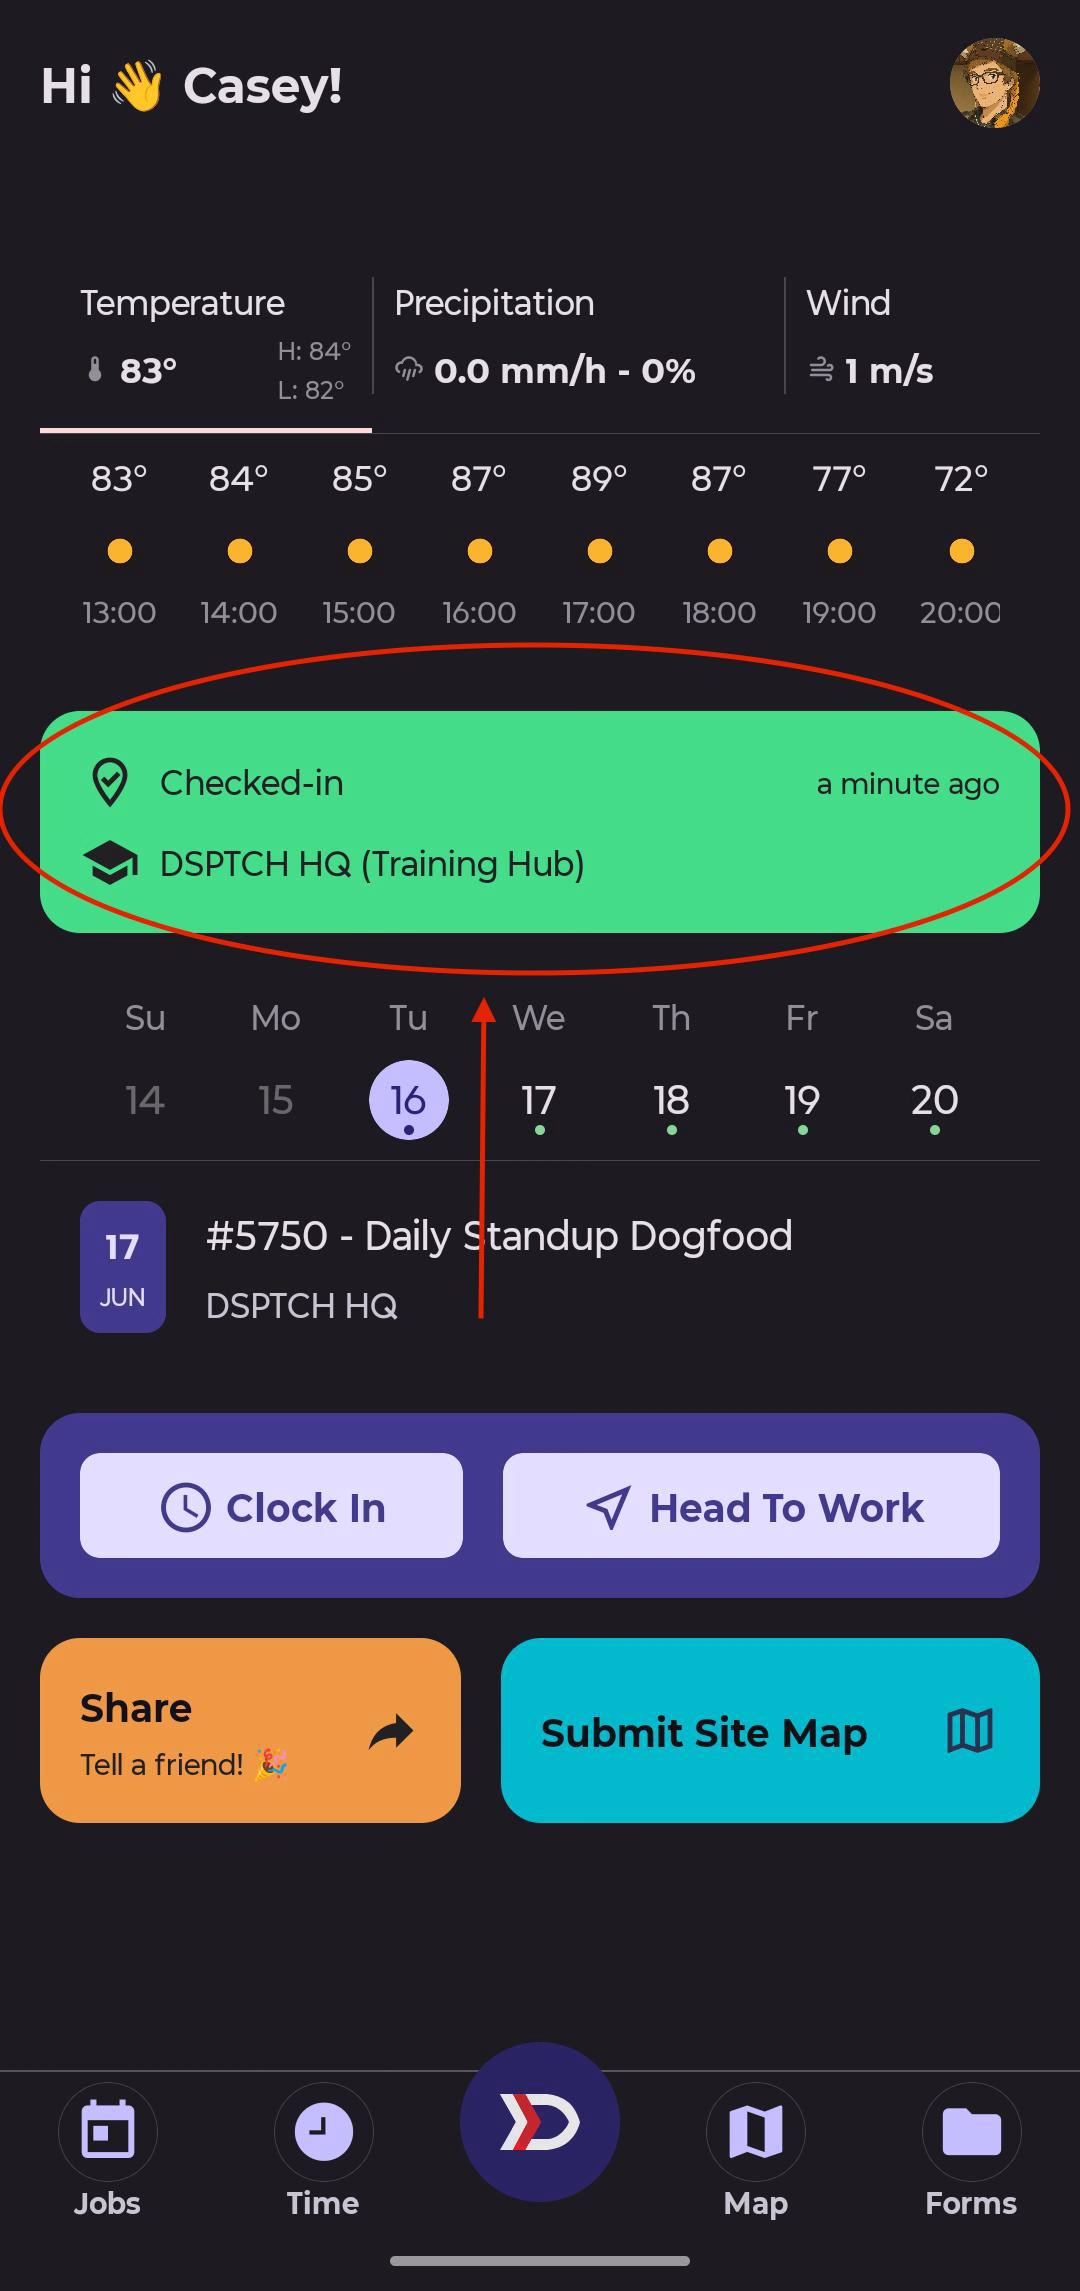
Ending a Check-in takes two steps from the main dashboard.
-
On the dashboard, tap the green Checked-in to banner near the top of the screen.
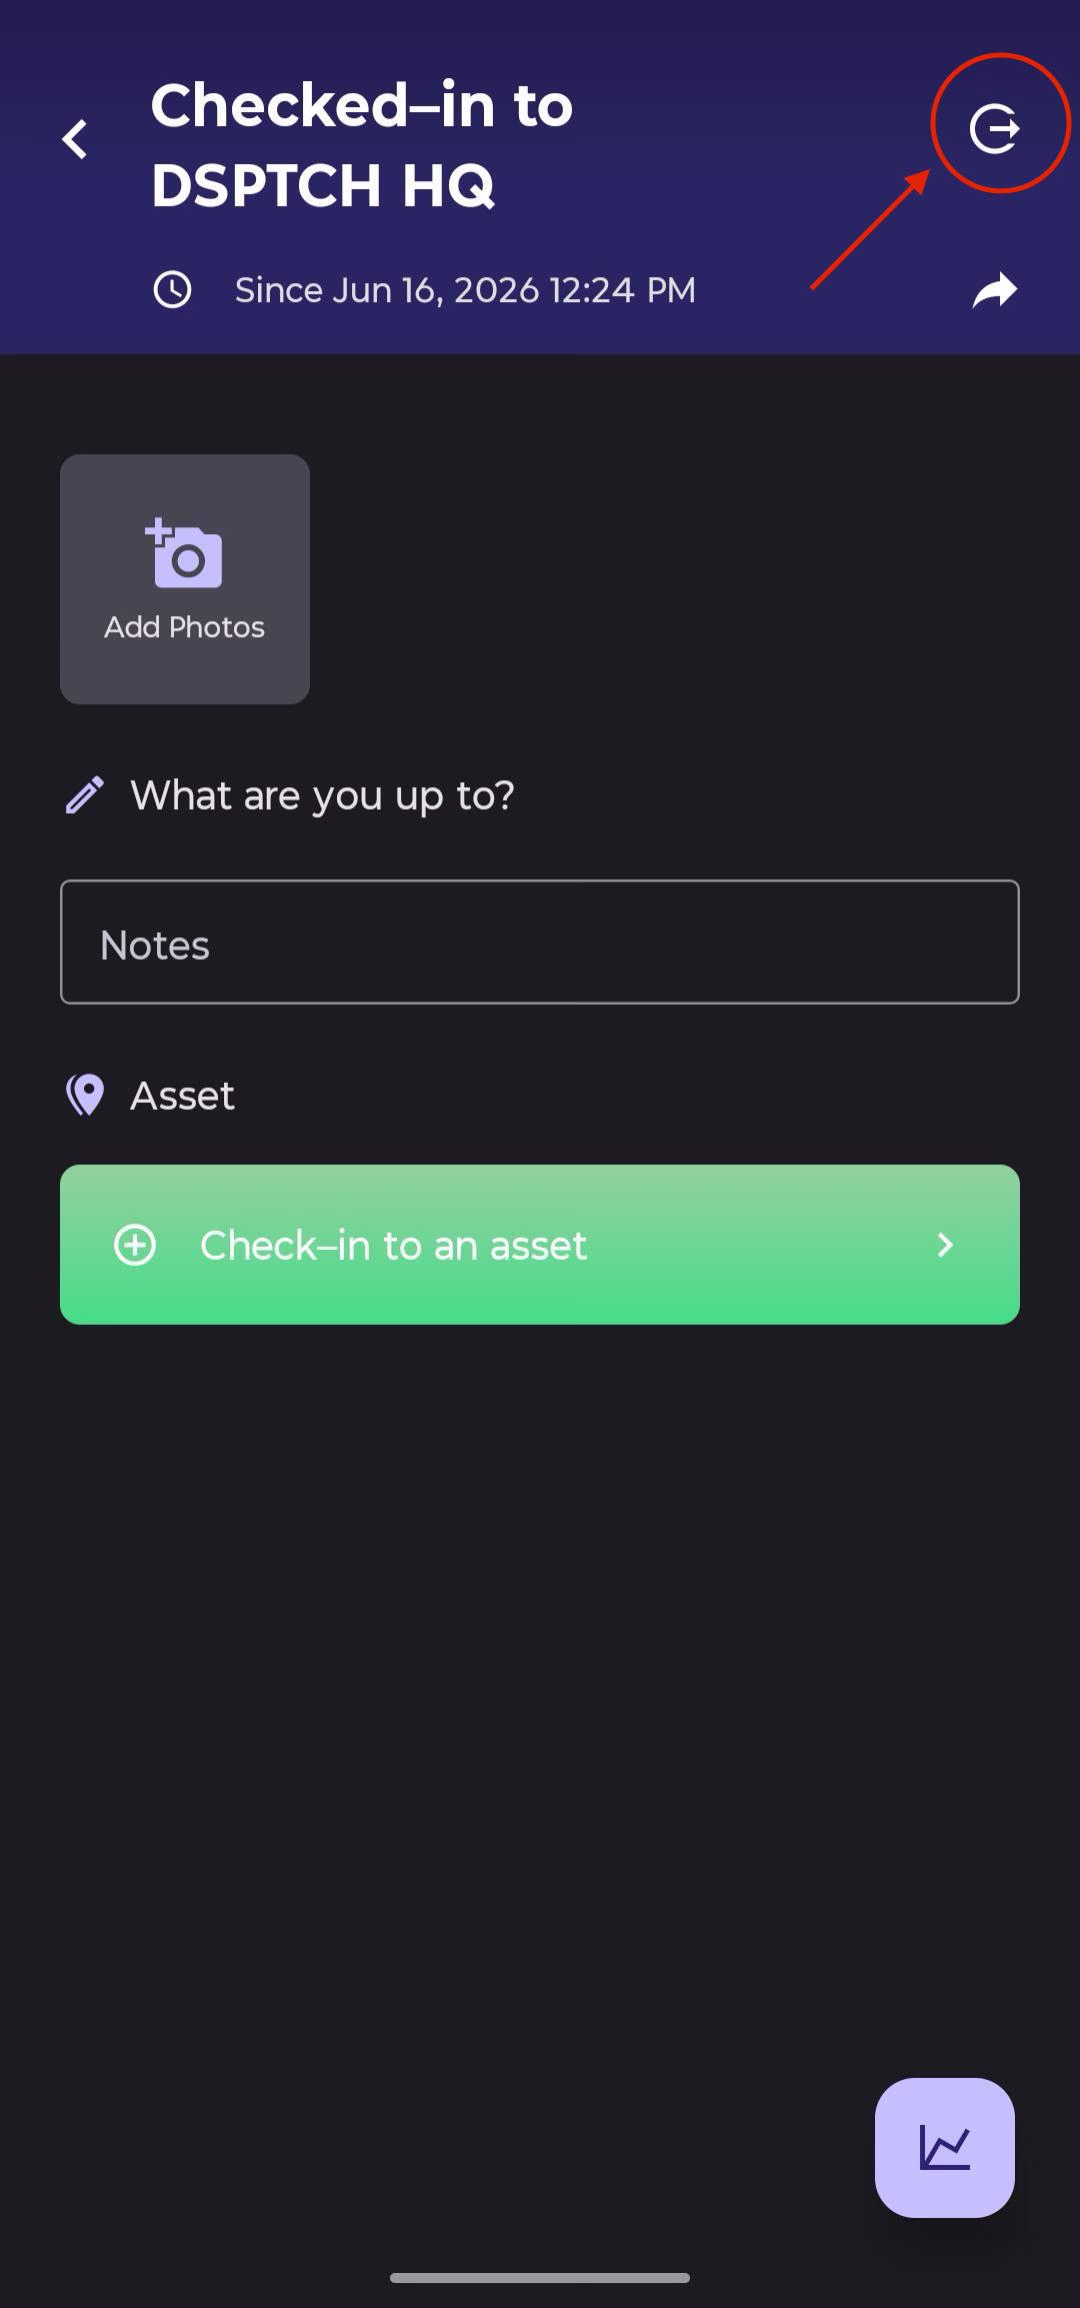
-
On the Check-in detail page that opens, tap the checkout icon in the top-right corner of the header to end the session.
How to view all-time Check-in stats
To view your all-time Check-in stats, start by opening your Profile Page by clicking your profile picture at the top right of the screen. Then, scroll down to the History section and select View Past Check-ins.
This will open a list of every Check-in registered to your account. Click on a Check-in to revisit the associated details (pictures, description, and assets).
To view your all-time stats, click the graph icon at the bottom right of the Check-in History Page. This will show your total number of Site Check-ins, unique Sites visited, number of Feature Check-ins, unique Features visited, and the total number of photos added.
For an example, watch the interactive demo here.